

Because I have been using this stamp to demo Pearl Pens and Viva Paper Soft at shows, I decided I'd
like to revisit the Easter Egg Tree stamp (F-934). This is the right time of the year and it's so easy to work with and so effective!
Stamps: Easter Egg Tree (F-934) , Alphabet (I-583).Papers: Graphic 45 Once Upon A Springtime and new (to us) Paper Cut - Gold Linen Metallic for the layering and Paper Cut Rose for the word "Easter".
Viva Paper Soft: Dark Sand and Moss Green.
Pearl Pens used are: Gold, Light Yellow, Light Blue, Silver, Lilac, Salmon and Kiwi. Just a reminder about Pearl pens, the lighter colors are very pearly and the darker one are more enamel looking.
 Embossing powder: PK Glitz -Timber Brown .
Directions:
1-Stamp and emboss egg tree.
2-Cut out free hand as shown.
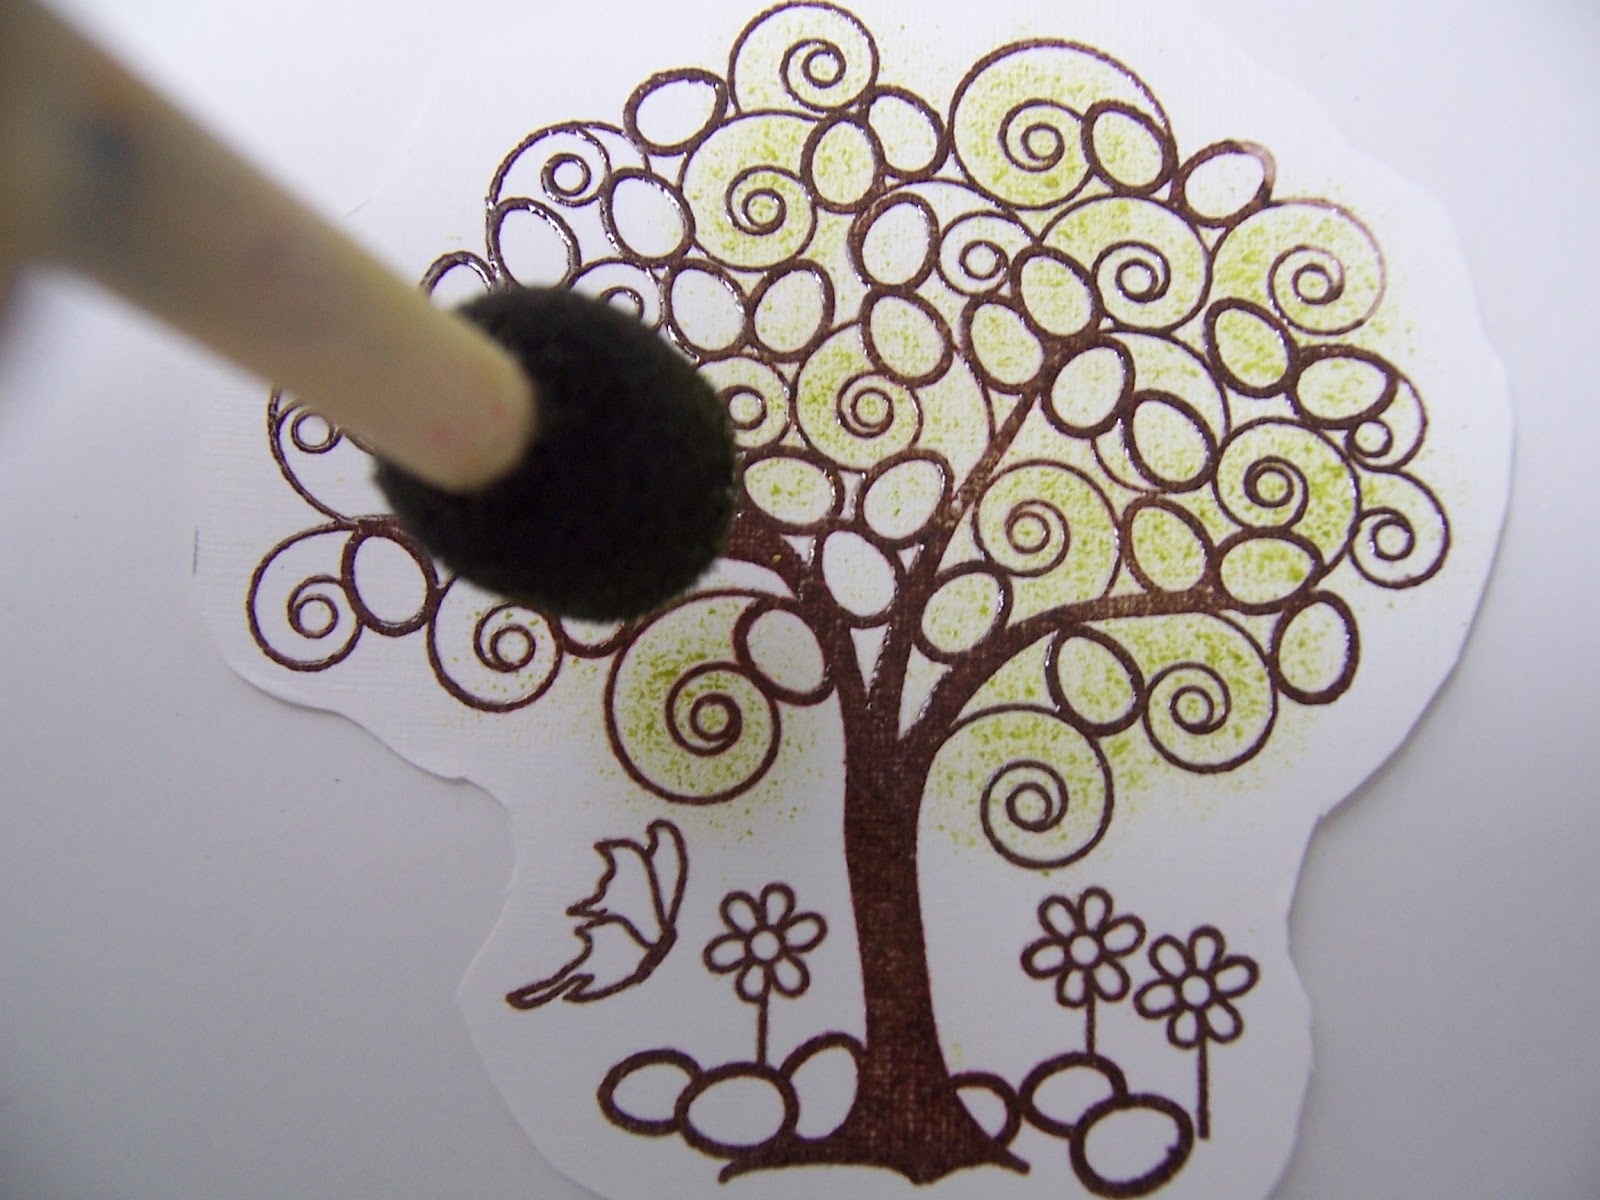
3-With Paper Soft, add color to tree portion and a little to grassy area using the smallest round ponce brush.*

4-Fill in eggs with pearl pens.
5-I decided at this point that white did not look quite right, so I added color using Color Soft again.
 6-Stamp the Alphabet stamp, emboss and cut out and layer onto small green squares to just off-set them. You can stamp the whole alphabet stamp and cut out the portions you need. I tend to cut a strip of paper, then cut it into small pieces. Ink the letter you need, place your small piece of paper over, press well with your finger, or better yet place a small block of wood or acrylic over and press down. You'll get a better inking that way. Using our Pixie Pick-Ups for placing the squares helps.
7-I decided that I wanted little pearl brads in the corners so I added them. This is a really great Pearl Pen tip if you don't already know it. When I couldn't decide if I wanted dots of peals in the corners or what color I wanted, I dropped some on wax paper. When these dry you can pop them right off and decide what you want to do with them. Save the leftover ones for future use.
8-Layer as shown. I used a corner punch to round edges and mounting tape to give the tree a lift.
 *I gave some tips on using Viva Paper Soft in Volume #44 Newsletter(June 9th). I was trying to tell you how great this product is for getting nice feather edges of color on white backgrounds. I don't
 know if I described it as well as I could have. I'll try again. The top of the container is a sponge that will have no color when new. You have to pounce it with the large brush to get the color to come to the top. Once it's there it is ready to use. When using it pounce the round sponge brush to get color onto it, then transfer to your paper with a very light touch. It won't look like much color is being added but you want to add it gradually. You keep adding color till you have reached desired shade. As you can see I used the small brush to get the green color onto the tree. I used a larger brush to add the sand color.
 Here's an important for getting nice smooth results! After inking your brush, roll the edges off on a paper towel or just another piece of scrap paper. Do this every time after inking the brush!
No comments:
Post a Comment